
Hosting a terraria server, with extra steps
In this post I’ll take you through how I went about creating a publicly-accessible Terraria server. Firstly, here’s some key points about my server that I’ll be covering:
- It is hosted on Google Cloud, using various services (compute, networking). This gives us a public, static IP address to use.
- I have used Docker, and Docker Compose, to to create the server.
- I’ve utilised Cloudflare to create a DNS record for the server – users can connect to it via a hostname.
So, let’s begin by creating a virtual machine to run the server.
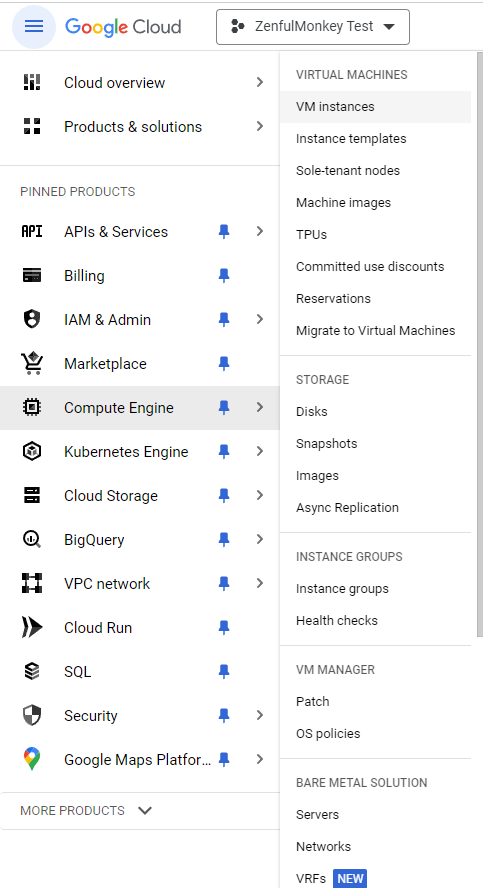
This is what the GUI for Google Cloud looks like, as you can see, there’s plenty of different services available.
Also note that Google Cloud has a free trial, which includes $300 worth of free resources to use within your first three months. Therefore, this server is completely free to run (other than buying my domain name which is used for DNS later).
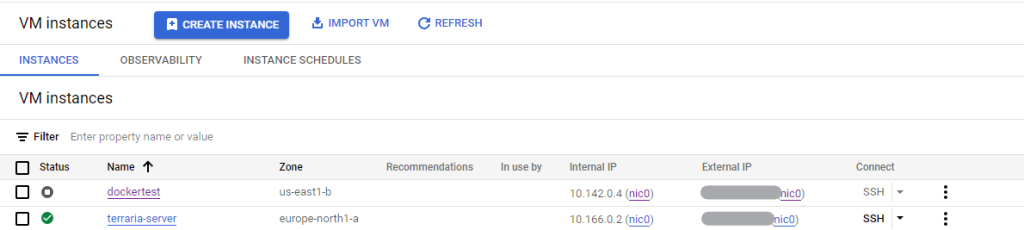
Now, we can navigate to ‘VM instances’ to create a new VM.
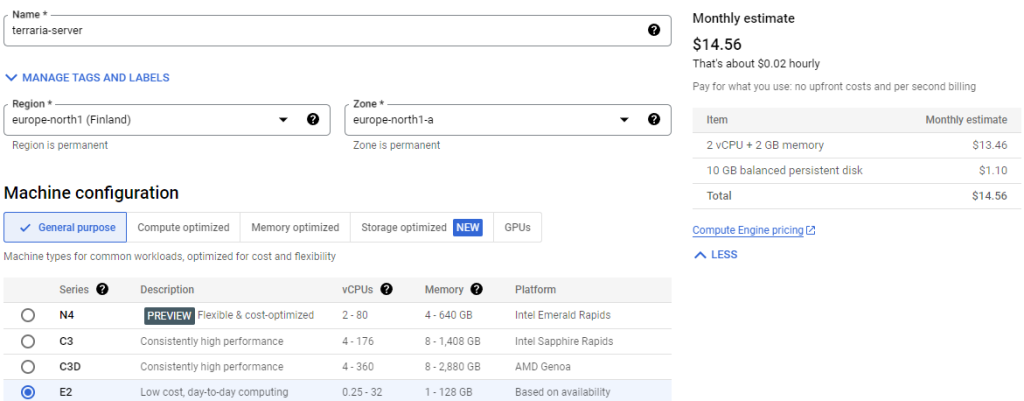
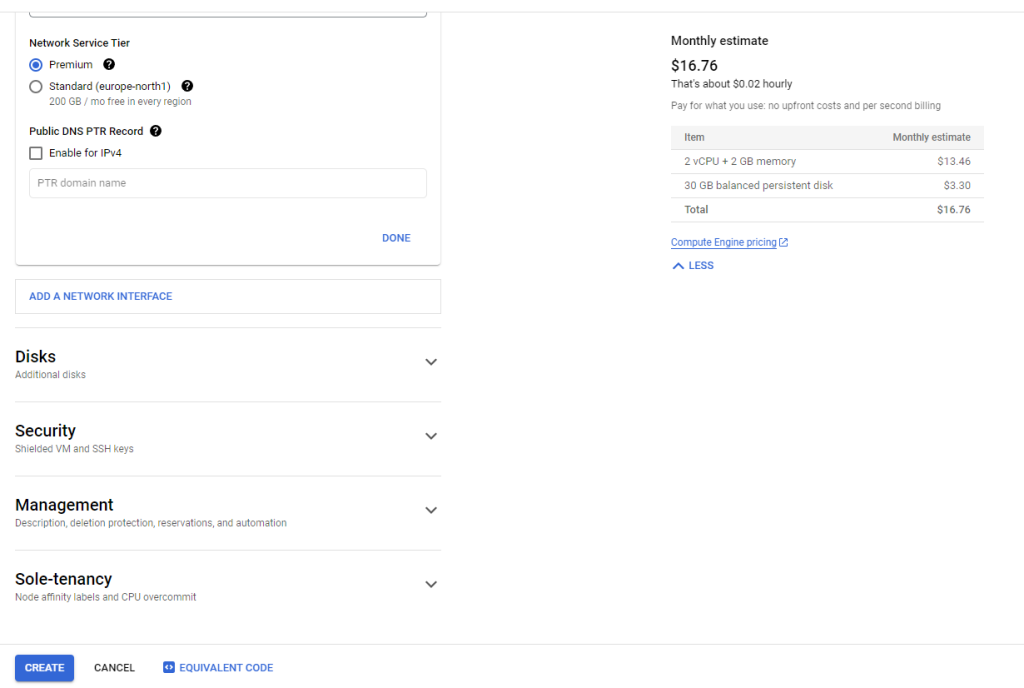
Creating a VM is a very easy process, with a GUI similar to most other cloud providers. The monthly estimate is also very helpful.
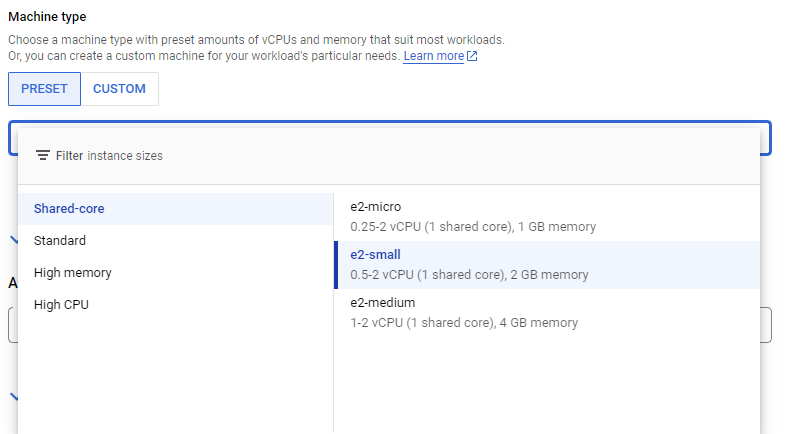
As you can see, I’ve selected the ‘e2-small’ machine type. This keeps costs down, and also due to my choice of hosting Terraria, the resource requirements are pretty low. That being said, if there were a lot of players on the server it’d be worthwhile scaling my resources up to increase performance.
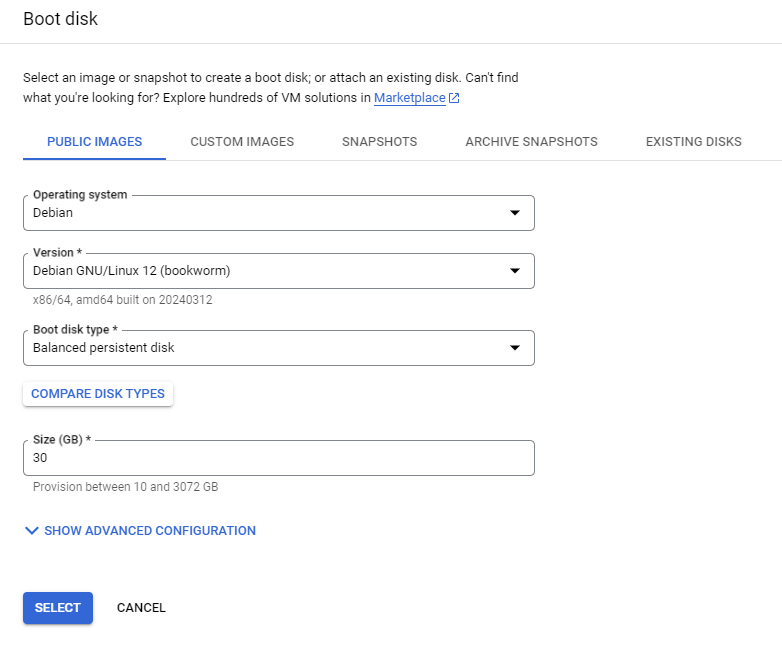
Next, I’ve chosen Debian. I’ve chosen Linux because it’s free, and because it’s compatible with Docker with no awkward workarounds. Debian is my distribution of choice here simply because I wanted something a bit different rather than using Ubuntu for absolutely everything – this is just personal preference.
I’ve also gone for a 30GB disk, which is probably overkill – but our costs don’t increase all that much and it’s nice to have some extra space.
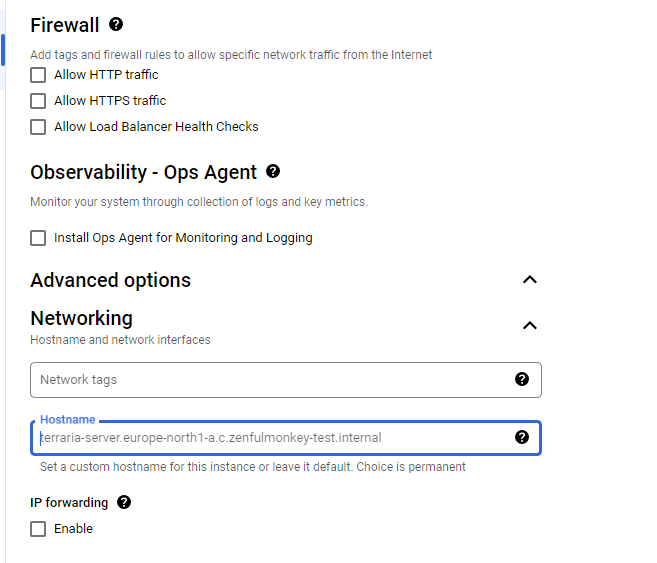
As we continue down the initial configuration, we can see firewall rules. We will need to edit these later to allow connections over TCP port 7777 (this is the port used by Terraria by default) – however our only options right now are for HTTP and HTTPS, which we don’t need.
You can also see our ridiculously long hostname, but we can leave this as the default – we’ll be using a different hostname anyway when it comes to setting up DNS.
As you can see, there are some more bits and pieces to change if you’d like but we don’t need to do this right now – feel free to explore these yourself. Let’s click ‘Create’.
As easy as that. Now for the harder part, configuring everything on the server.
Let’s begin that by clicking on the ‘SSH’ button beneath where it says ‘Connect’.
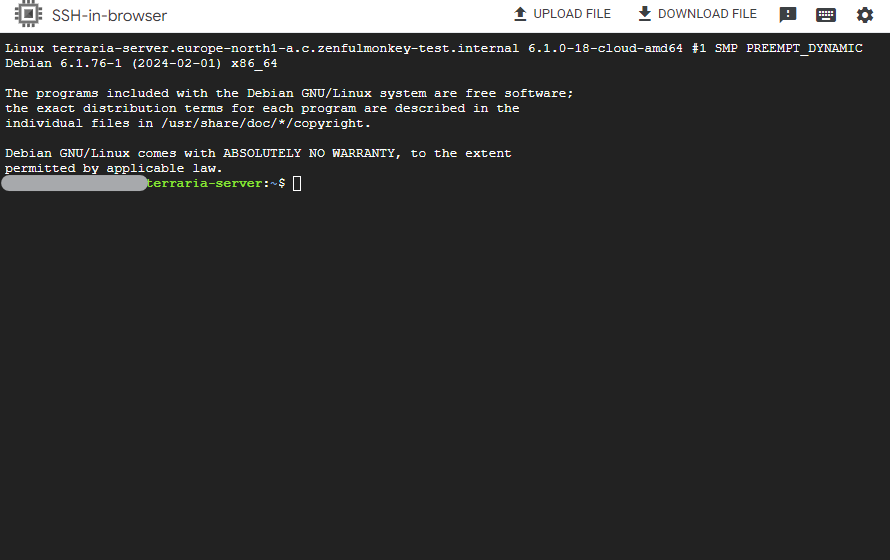
Doing so will bring us to this shell inside of our browser which we can now use as a CLI to make changes to the VM.
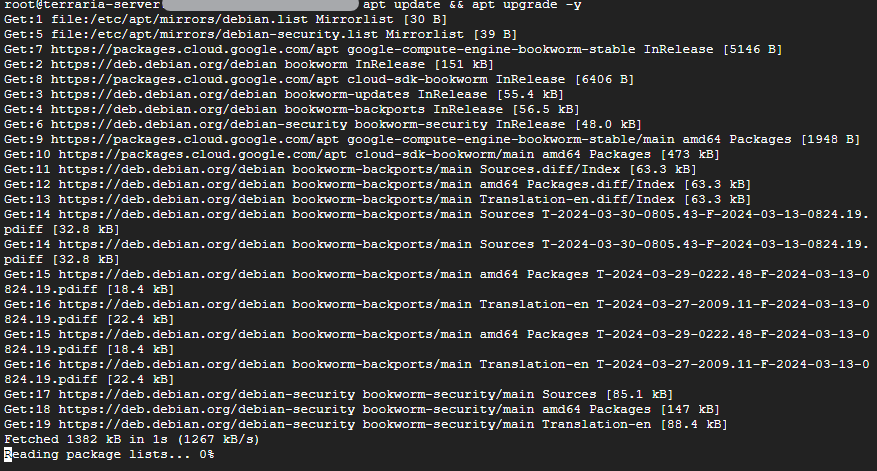
We’ll begin by logging in as root, and doing any necessary updates.

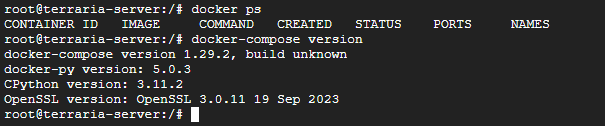
As seen above, I’ve then installed both Docker and Docker Compose, and then done a couple of commands just to ensure they’ve installed.

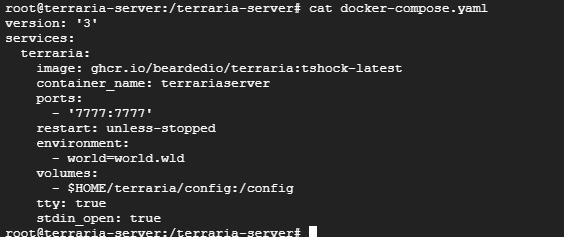
Next, I’ve created a directory for our Docker Compose configuration file to live in, and then I’ve created the configuration file itself.
By using the command ‘nano docker-compose.yaml’ we can now edit it and put in the following text:
version: '3'
services:
  terraria:
    image: ghcr.io/beardedio/terraria:tshock-latest
    container_name: terrariaserver
    ports:
      - '7777:7777'
    restart: unless-stopped
    environment:
      - world=world.wld
    volumes:
     - $HOME/terraria/config:/config
    tty: true    stdin_open: true
There’s a few important things that this configuration file does for us, which I’ll go through here:
It grabs the image we are using from Docker Hub (created by bearded.io who have also made many other Docker images, it’s worth checking them out); it opens up the port 7777 on both the container and on our host (the VM); it loads up the ‘world.wld’ file which is the game file our server will actually use and run; and it also specifies a volume, which is persistent storage for our game server that will not be deleted if our container stops running.
Once done, if using the nano editor (which I was), changes can be saved by pressing CTRL+O and then pressing Enter. Then CTRL+X can be used to exit the editor.
The ‘cat’ command can be used to print the output of the configuration file, confirming it has been saved correctly. Now is a good time to double-check spellings.
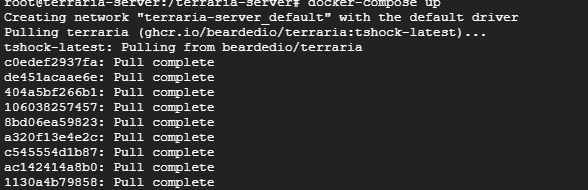
Then, by doing the command ‘docker-compose up’ the image will begin to be pulled down to our machine and the Docker container will be created with all of our configured specifications.

However, once done, it will quit itself: the world file we’ve specified is missing. Or rather, it hasn’t been created yet. Let’s do that now, with the following Docker command:
docker run --rm -it -p 7777:7777 \
    -v $HOME/terraria/config:/config \
    --name=terraria \
    ghcr.io/beardedio/terraria:latest
Again, thanks to bearded.io for creating and maintaining these images I’ve used for this project.
This command will get a server up and running, and once it’s up we can use it to create a world. Then, we can delete the container and use our Docker Compose file as intended.
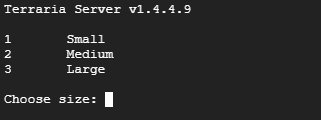
Once the command has ran, we’re prompted to create a new world.
Make sure you name it the same name as specified in docker-compose.yaml!
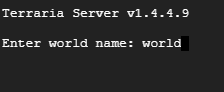
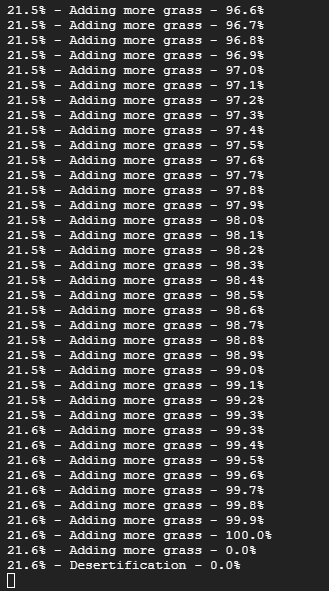
Now, the world is being created.
With the resources we gave to our virtual machine being so low, this will take some time.
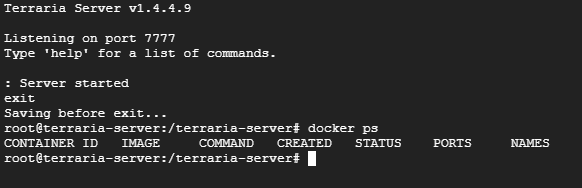
Once done, we can simply use the ‘exit’ command to shut everything down. You can also run ‘docker ps’ to ensure the container has stopped.
Now, to use ‘docker-compose up’ again and see if it works:
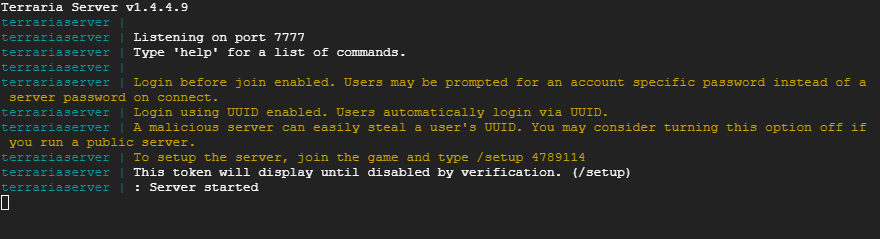
It works! Now, we need people to actually be able to connect to it. Let’s configure our firewall.

If we go back to our VM instances page within the Google Cloud GUI, we can then click on where it says ‘(nic0)’ next to our external IP address.
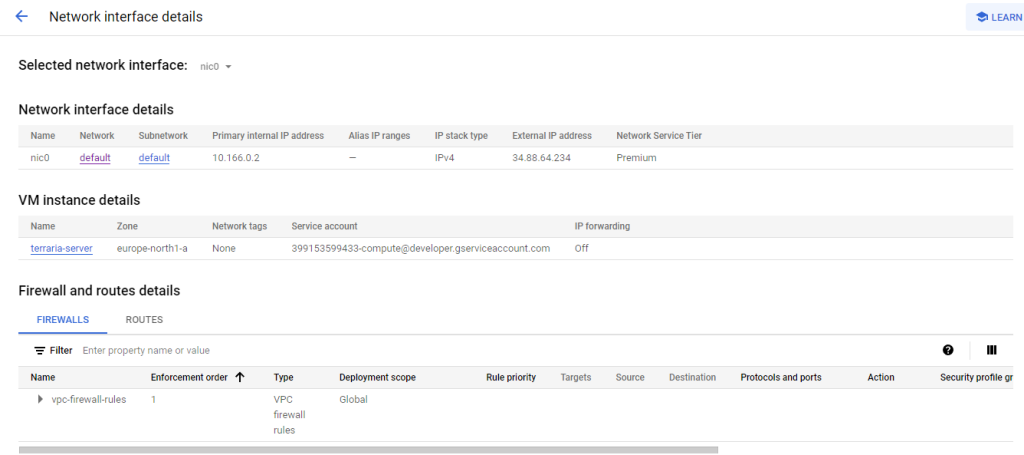
Here, we can see a few details, including the firewall rules attached to our NIC. We’ll click on ‘default’ (in purple, near the top) to configure the network the VM is attached to.
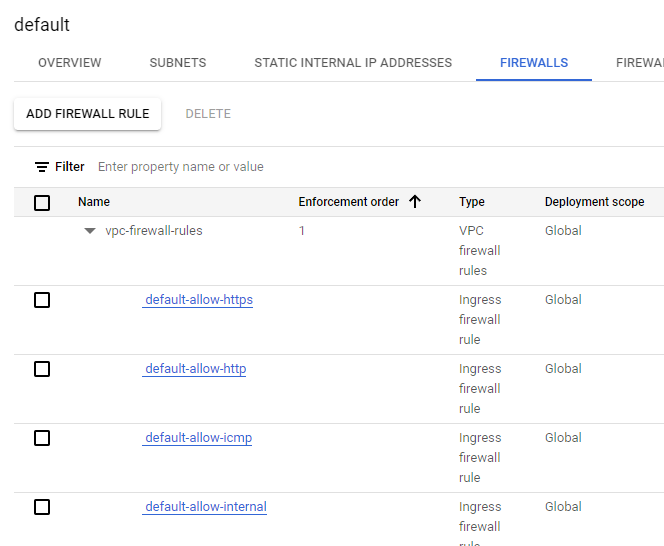
Once there, we can view our firewall rules by clicking, you guessed it, ‘Firewalls’. Right now, there’s nothing here but the default rules… can you figure out which button to click in order to add a new firewall rule?

Now to create the new rule. Here I’ve specified the name of it, I’ve added a description (just in case I wake up one day and I’ve forgotten what Terraria is), and I’ve specified that INCOMING (ingress) traffic which matches this new rule will be ALLOWED.
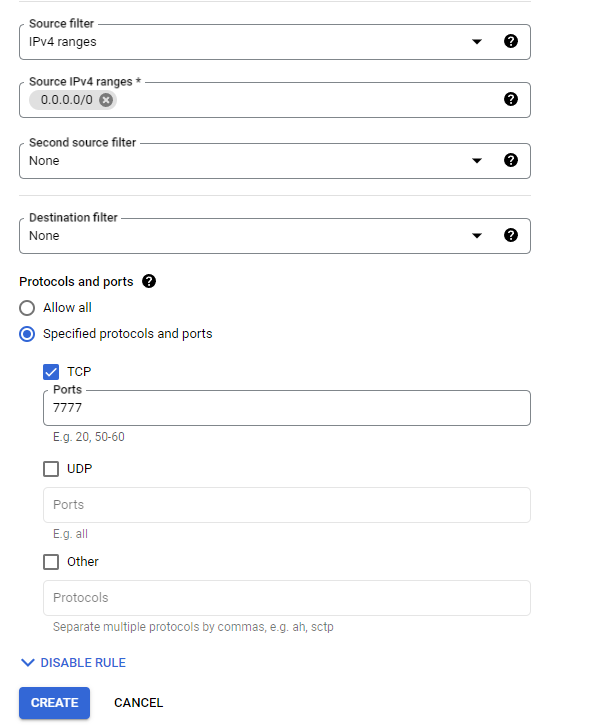
This screenshot shows that the source address (i.e. where the traffic is coming from) has been set the 0.0.0.0/0 – this just means it can come from any IP address whatsover, it has been opened to the entire Internet. We’ve also specified the port 7777 – please don’t just click ‘Allow all’, it’s a really bad idea.
We’ll click ‘Create’, and it’s time to play some Terraria – strictly for testing purposes of course.
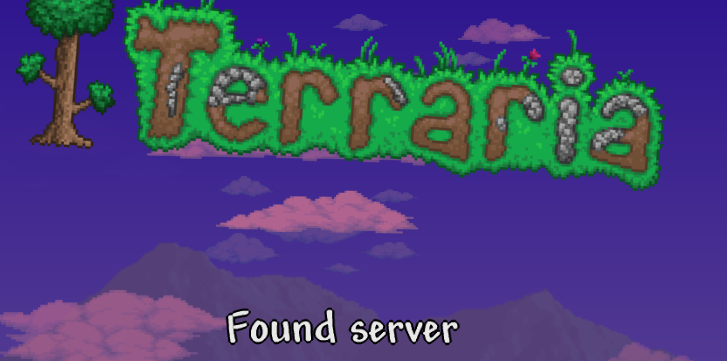
Here, I’ve gone to the Multiplayer section of the main menu, clicked ‘Join Via IP Address’, and put in the public IP address of my VM. For the port, I’ve obviously gone for the default 7777. And the server has been found!

A familiar face for those of you who’ve read some of my earlier posts.
So, we now have a Terraria server accessible via the Internet, but I’m not done just yet. I want to be able to connect to it via a hostname rather than an IP address, I want everyone to see the lovely ‘zenfulmonkey’ branding.
The first thing we need to stop some headaches from happening further down the line is a static IP address – otherwise we’ll be having to edit our DNS records every time the IP address changes.
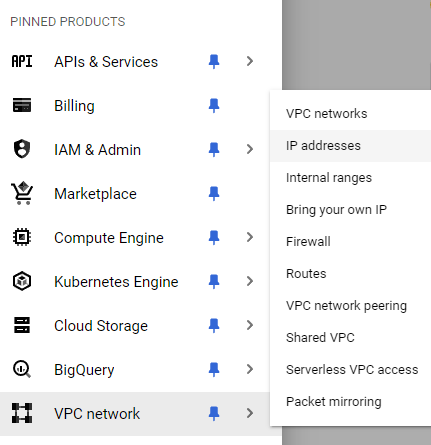
We simply navigate to ‘IP addresses’, and then click a button along the top saying ‘RESERVE EXTERNAL STATIC IP ADDRESS’ – Google really couldn’t make this any easier.
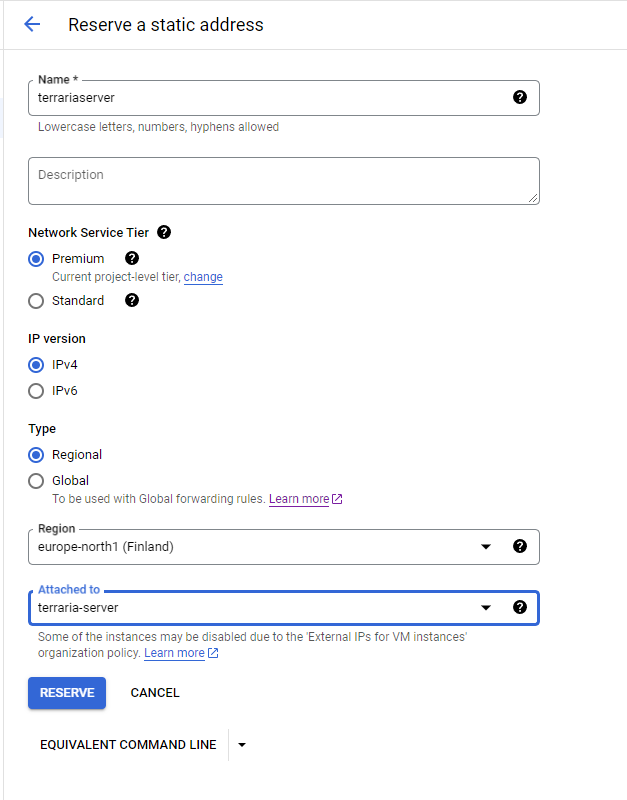
As seen above, there isn’t much configuration needed. Just pick a name, an IP version, and ensure it’s attached to the correct virtual machine.

Once we’ve clicked reserve we’ll be taken to a GUI which shows all of our IP addresses, confirming that it is configured correctly and now in use.
Now, I need to login to my Cloudflare dashboard, as that is who I use for DNS – instructions will vary for you if you’re using another DNS provider. However, there’s just a couple of records to create and record types are the same regardless of your provider, so it should be easy enough to follow my examples.
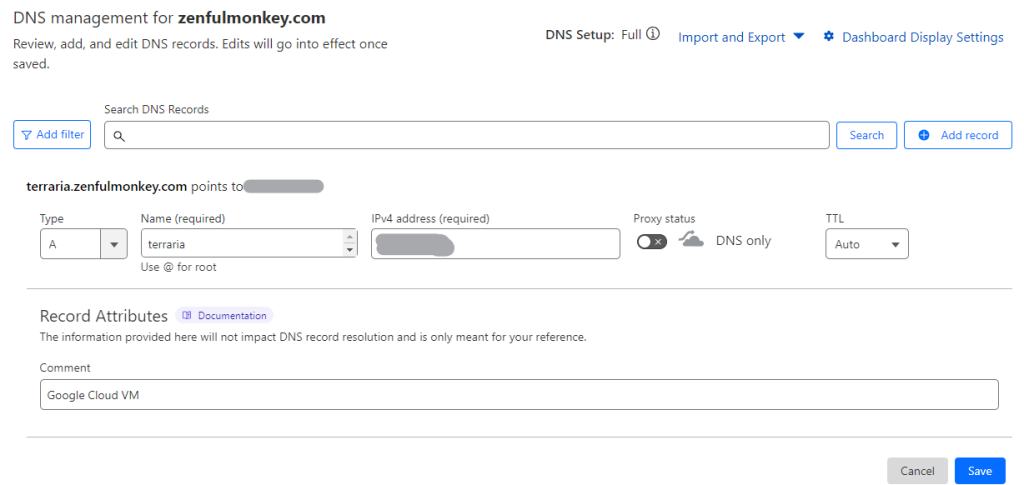
First up is an ‘A’ record, which points a hostname to an IP address. So, I’ve selected the name of ‘terraria.zenfulmonkey.com’ – this is what players will need to type into Terraria to reach my server. Then, I’ve typed in the public IP address of my Google VM.
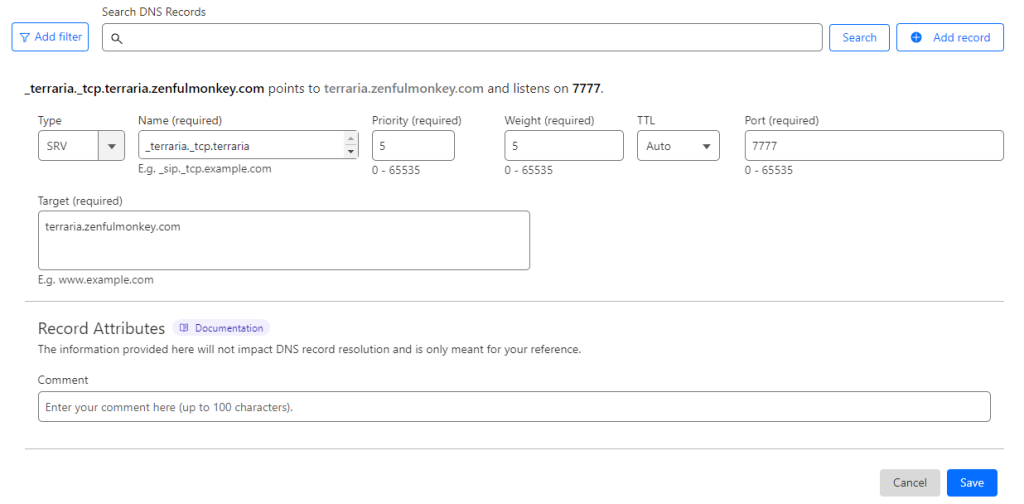
Alongisde this we need a ‘SRV’ record, which specifies a particular port – this basically tells computers going to a certain hostname to use a particular service. So, we’ve selected the 7777 port and pointed any Terraria TCP traffic to terraria.zenfulmonkey.com
What this means is that traffic from the internet on the port of 7777 will be meet our SRV record, which will direct it to terraria.zenfulmonkey.com, where the A record will send the traffic to the IP address of the server, at which point the user will be connected to the server.
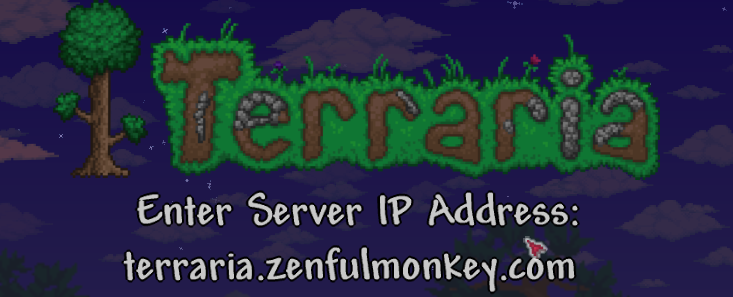
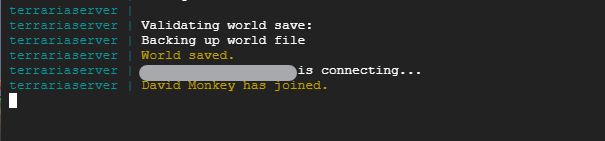
So, we’ve opened up Terraria again, and instead of typing in the VM’s public IP address we’ve typed in ‘terraria.zenfulmonkey.com’.
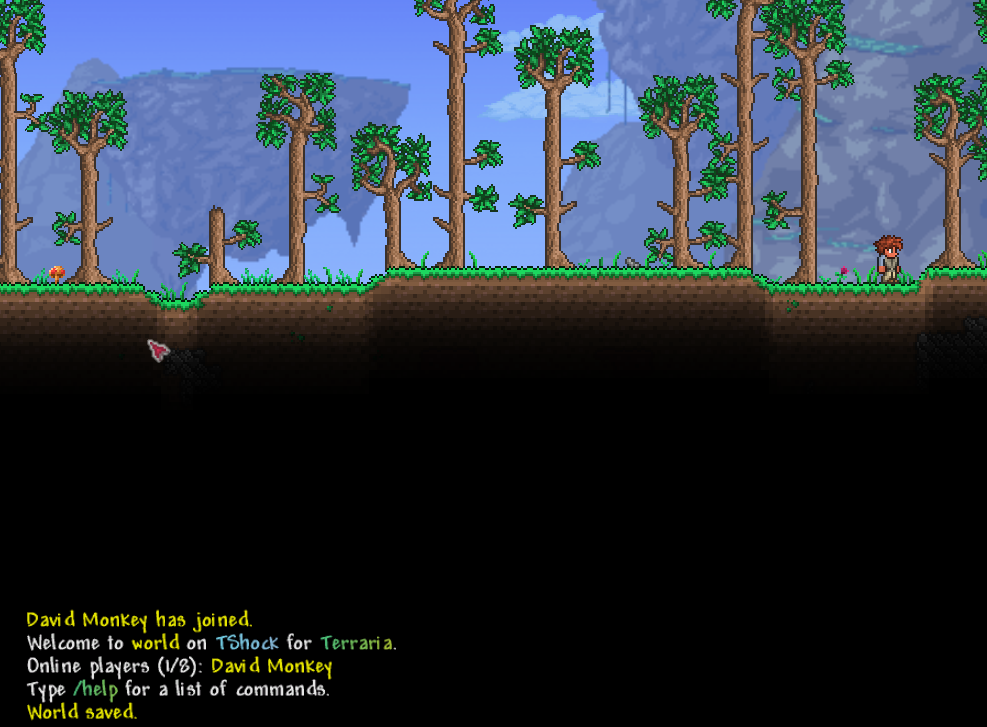
It works! David Monkey is back.
We’ve now got the Terraria server functional. This post has covered creating the VM, configuring it, creating our Docker Compose file, configuring our firewall rules, creating new DNS records, and finally we’re connected to our server using a hostname belonging to our domain.
Hopefully you’ve learned something from this, and thank you for reading – I hope to see you in the next post.
Leave a Reply