
File Sharing via GPO
In this post, I’ll cover two new concepts: shared network drives on Windows Server, and mapping those drives via Group Policy.
This post is carrying on from my previous two posts regarding my Active Directory homelab, so if you haven’t read those I’d recommend at least checking out this post about the initial setup of AD, DHCP, and DNS.
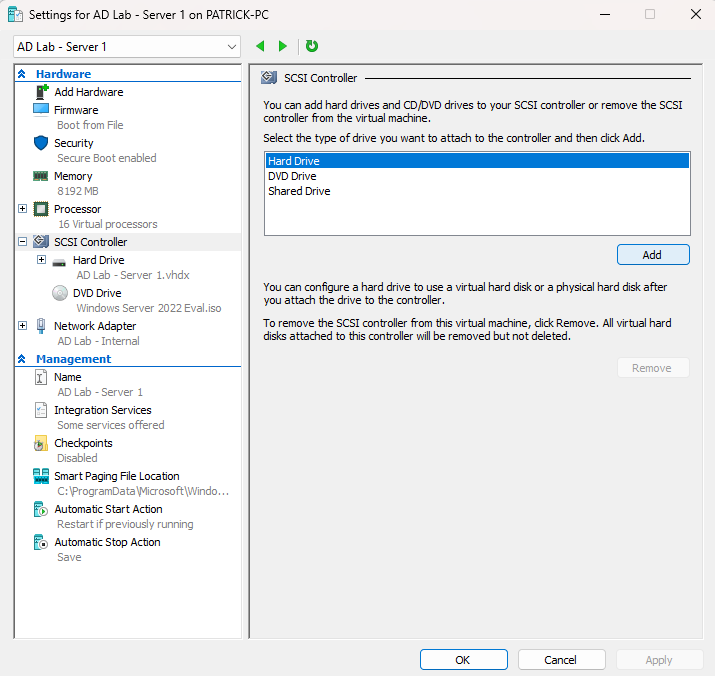
The first step is to add some storage to our Windows Server which we will then turn into our new shared storage area. Here, you can see my hypervisor of choice is Hyper-V Manager, as well as all of the virtual hardware that my server has.
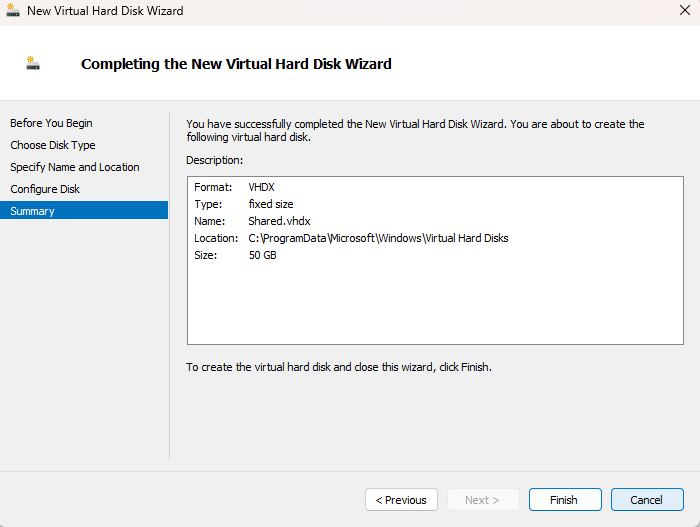
After adding the new Virtual Hard Drive, we get a Wizard (🧙♂️) that takes us through naming it, giving it a specified size, and a few other pieces of config.
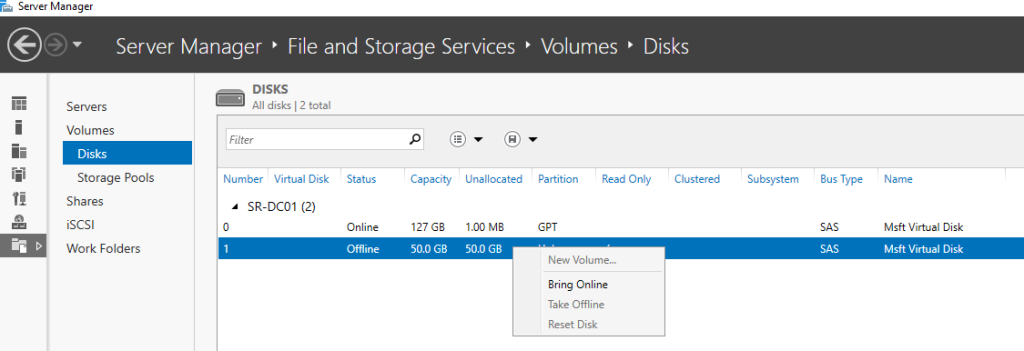
Next, we’ll go into our virtual machine and head to the ‘File and Storage Services’ tab, and then ‘Disks’. Here, we can see our new virtual disk – it is currently offline. It’s as simple as right-clicking it and then selecting ‘Bring Online’.
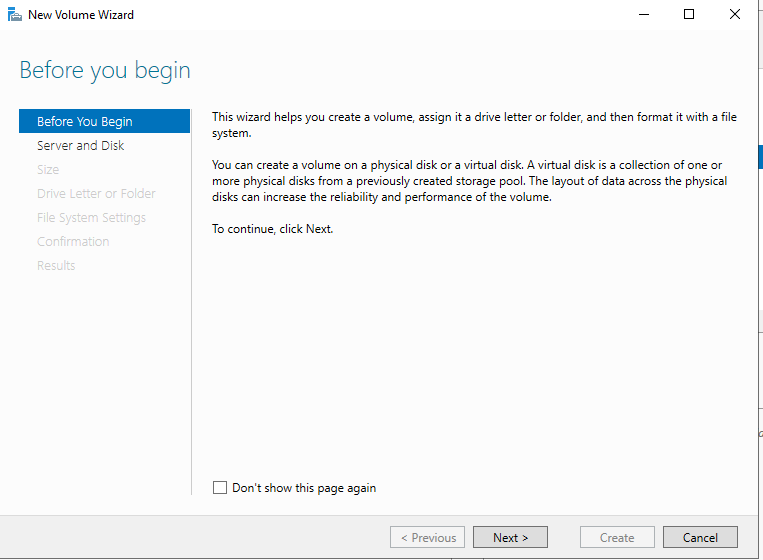
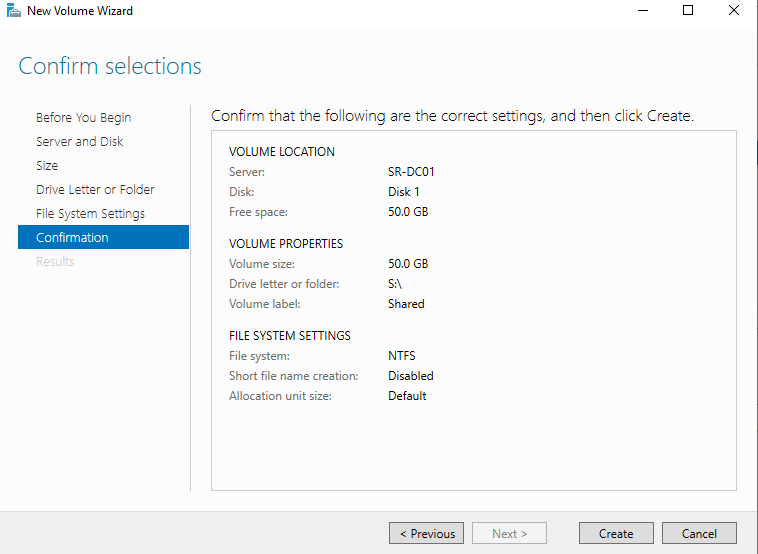
Now, we need to create a volume and select the size of it, which letter it is assigned to, which file system it uses, and more. I won’t run through all of these options individually as it depends on your use case, but you can see the end result here:
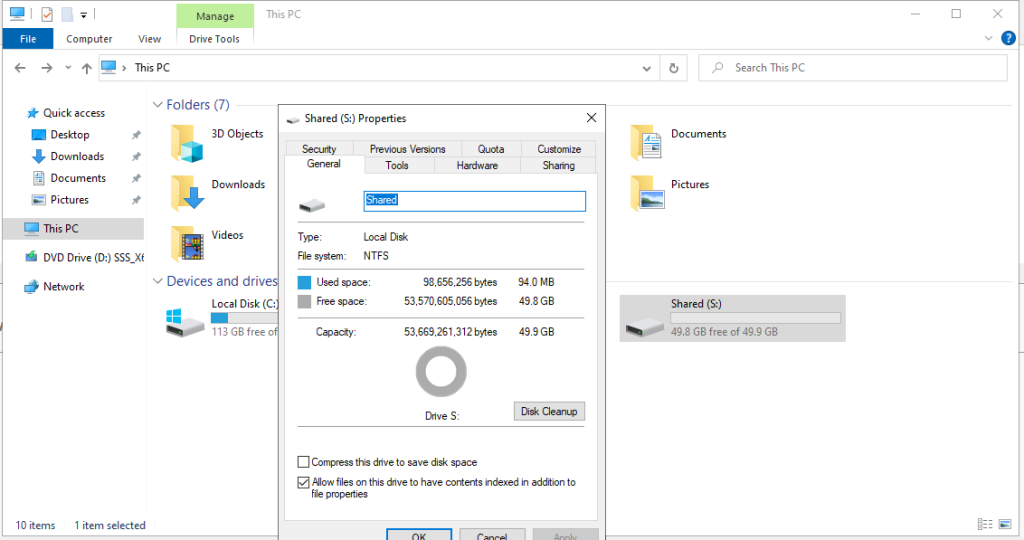
Now, our new volume is ready to be used – but only by our server. We now need to make it a shared drive and add some permissions so it can be used by our users.
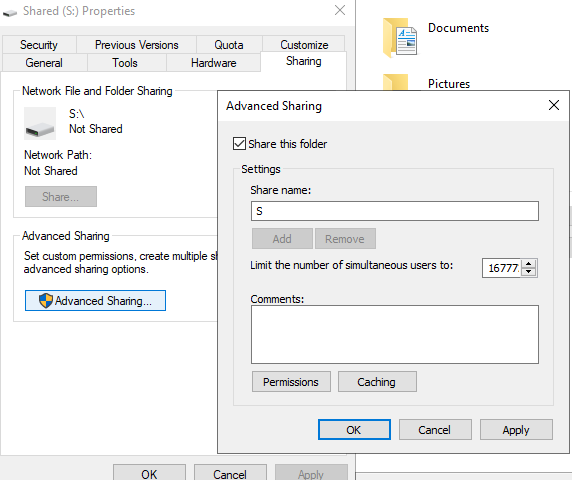
It’s a pretty straightforward process: open ‘Properties’, navigate to the ‘Sharing’ tab, open ‘Advanced Sharing…’, and finally tick the box that says ‘Share this folder’.
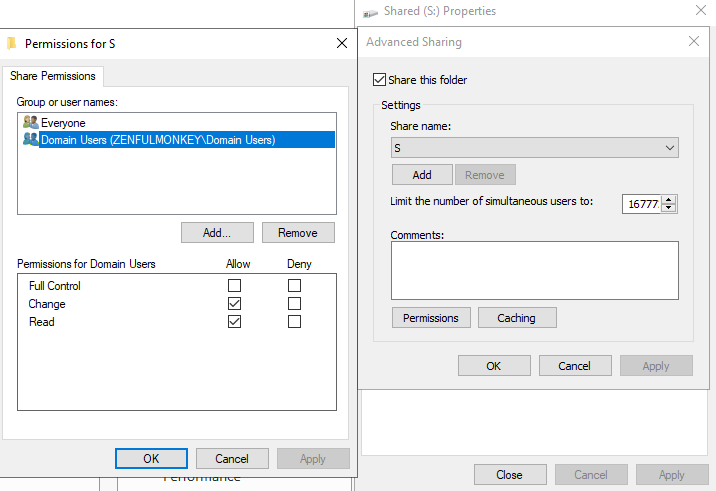
We also want to give our users the permissions to actually use this network drive rather than just see it teasing them from ‘This PC’ in File Explorer. So, we’ll go to ‘Permissions’ and give our Domain Users (using the ‘Add’ button) permission to both Change and Read the contents of the drive.
Note that this isn’t ideal for an actual organisation, but for the purposes of my homelab it does the job for now.
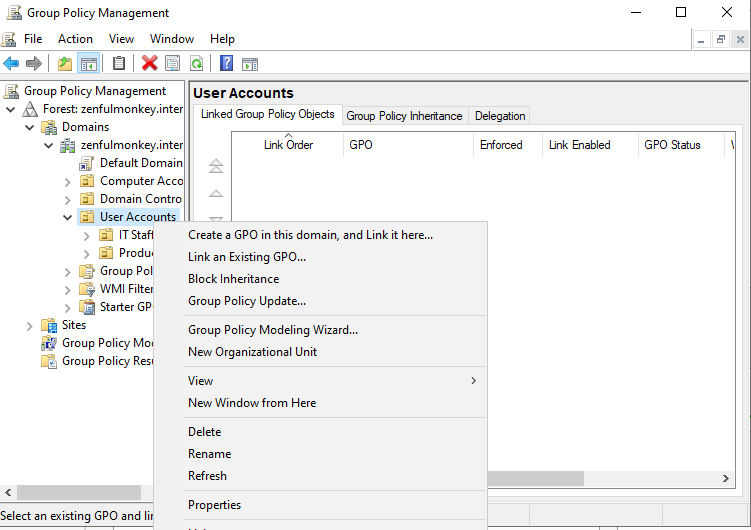
Now, to create a GPO, or Group Policy Object. For this we need to go to the Group Policy Management GUI within our server.
As seen in the screenshot above, I’m linking this to the ‘User Accounts’ OU (which our IT Staff and Production Staff OUs are inside of). This means that this GPO will be applied to all of our user’s accounts – again, this is not recommended unless you need everyone in your Active Directory domain to have access to this drive.
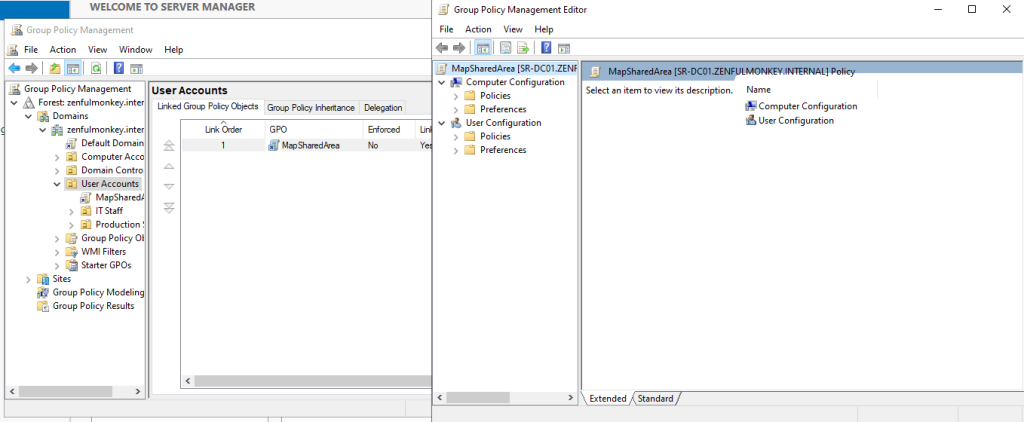
I’ve given it the rather descriptive name of ‘MapSharedArea’, then gone to edit it, which gives us this new GUI in which we can actually modify what we need to.
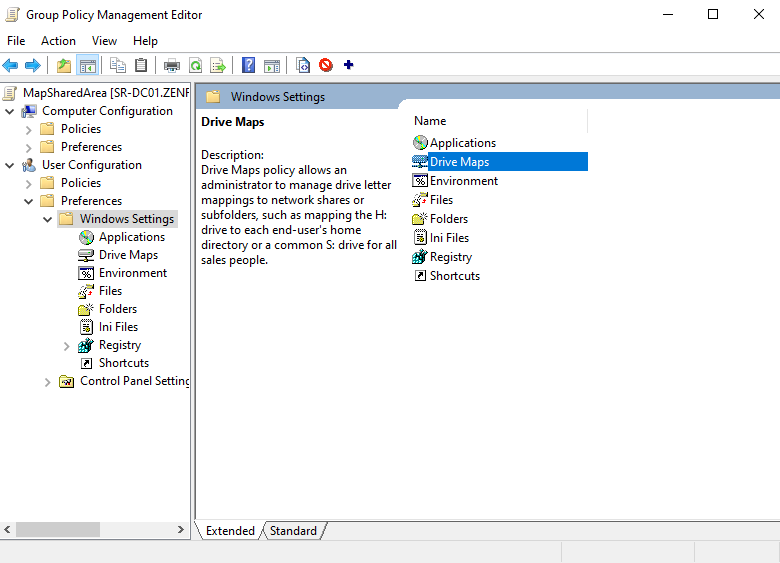
I’ve gone to User Configuration -> Preferences -> Windows Settings. Then, I’ve right-clicked on ‘Drive Maps’ and selected ‘New’ and then ‘Mapped Drive’.
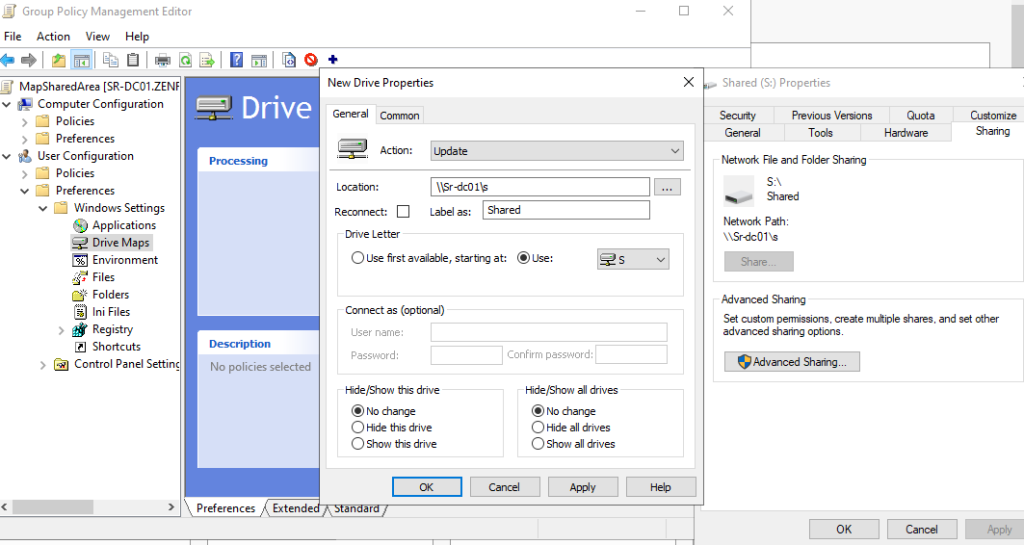
Here we get yet another GUI popup, and now we can finally use the volume we created earlier and map it via Group Policy. You can find the ‘Location’ of your shared drive by going back into the ‘Sharing’ tab of the volume you created in File Explorer’s Properties.
Don’t forget to click ‘Apply’ once you’re finished.
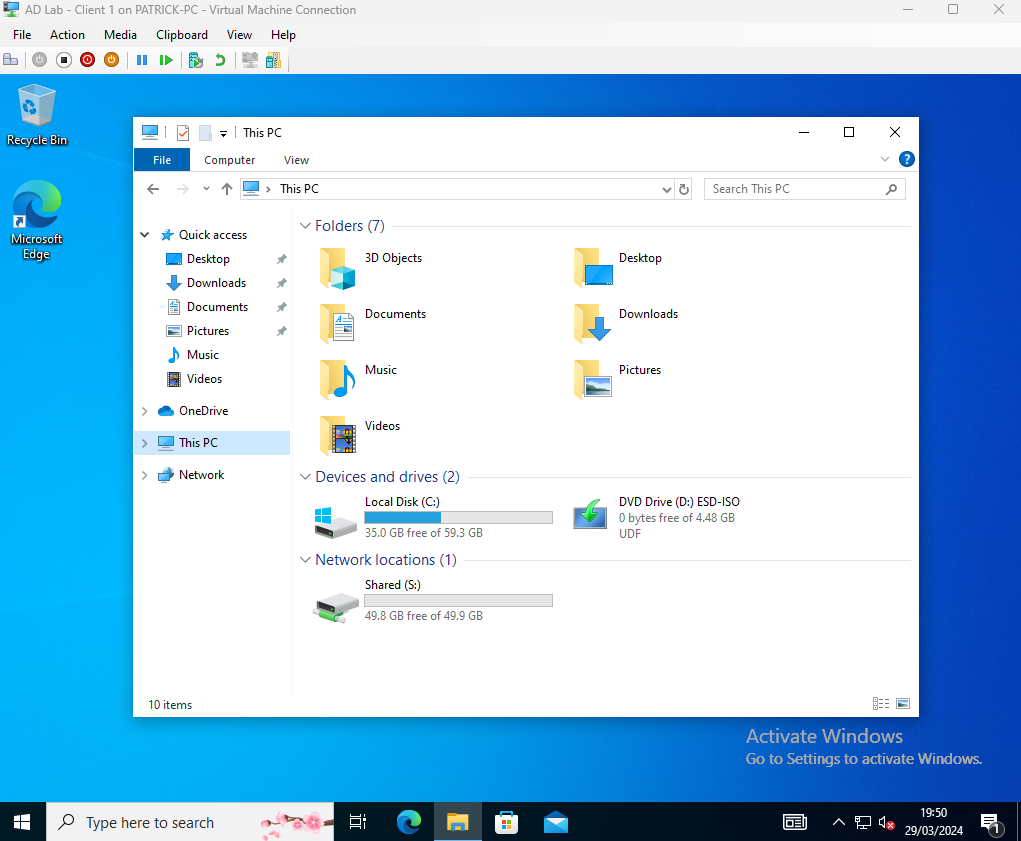
Now that this is done, we can log into our ‘Client’ VM and check to see if the network location has been mapped:
It has! And just to make sure, let’s test our permissions work too… we are currently logged in as our test account from our last post, David Monkey.
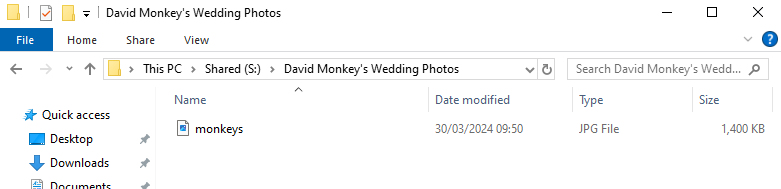
A familiar sight for anyone who works in IT: staff using their workplace’s network storage to store their personal photos.
Now, we have a shared area which is automatically mapped to our users via GPO. Whilst it’s a very a basic setup, it does the job and also shows that our GPOs, OUs, and permissions have all been setup correctly.
Thank you for reading, and I’ll see you in the next post.
Leave a Reply