
Initial configuration of aD DS
If you read my last post, you’ll know that I went through the configuration of a pfSense router for our Active Directory homelab environment. There was just one problem with the end result: there was no Active Directory homelab, yet.
Therefore, this post will cover my initial configuration of Active Directory Domain Services (AD DS), as well as DHCP and joining my first client VM to the domain.
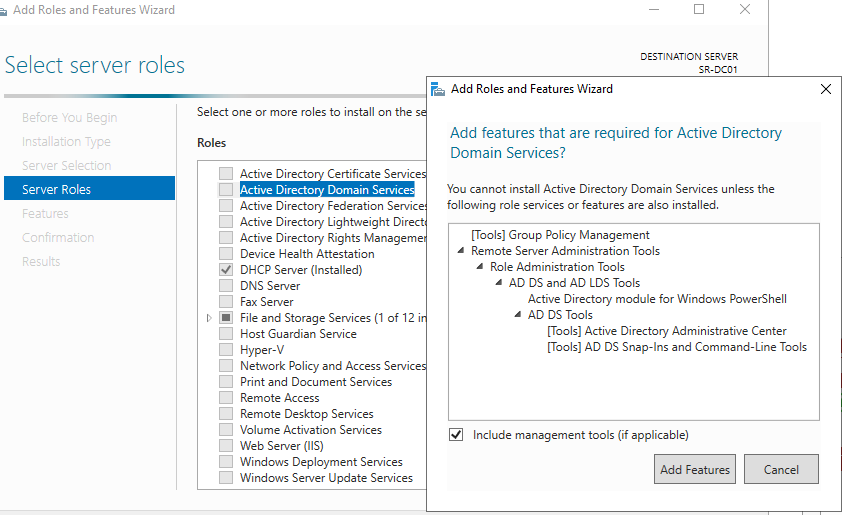
Firstly, we begin on my SR-DC01 virtual machine, which will be our primary domain controller. I’ve already installed the DHCP server role (but I will configure that later on in this post), and I am now installing Active Directory Domain Services.
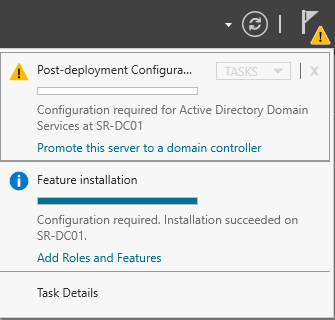
Installation has finished, and now we are prompted to turn this server into a domain controller, which will give us a wizard (no, not that sort of wizard) which we can go through to set up our new domain (or join an existing one).
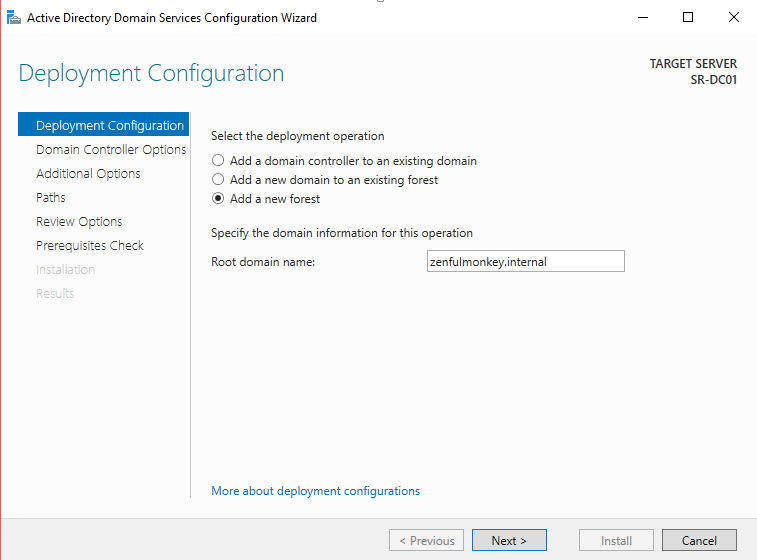
As you can see above I’ve selected to ‘Add a new forest’, as we’re making this domain from scratch. Then. I’ve decided on the name of ‘zenfulmonkey.internal’, which I’ll have to remember to not confuse it with ‘zenfulmonkey.com’.
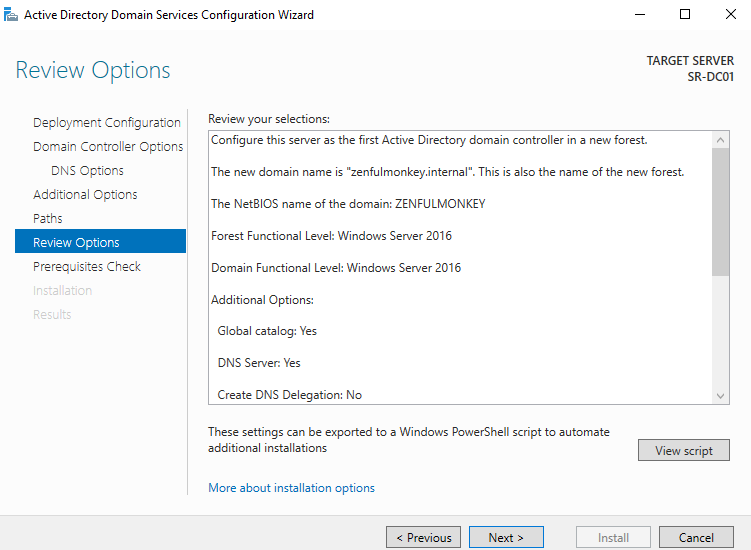
In this screenshot you can see all of the other configuration options I’ve selected, including the ‘DNS Server: Yes’ option. This means that the DNS Server role will also be installed onto our server, which will be useful for many reasons.
After a reboot, you can now see our login page looks slightly different, showing that this server belongs to the zenfulmonkey domain.
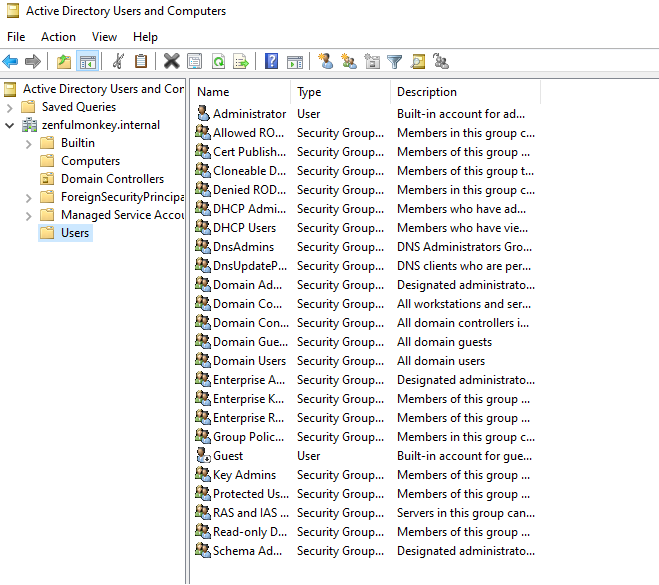
We can now access the Active Directory Users and Computers management GUI, and right away we can see that we have all of the built-in users and everything else.
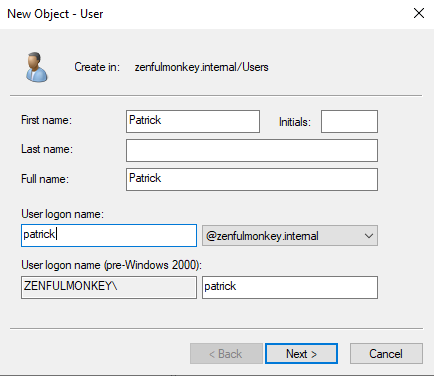
Perhaps the most ubiquitous Active Directory-related tutorial to ever exist, the screenshot above shows me creating a new user. I won’t take you through how this is done, I’m sure you can figure it out yourself.
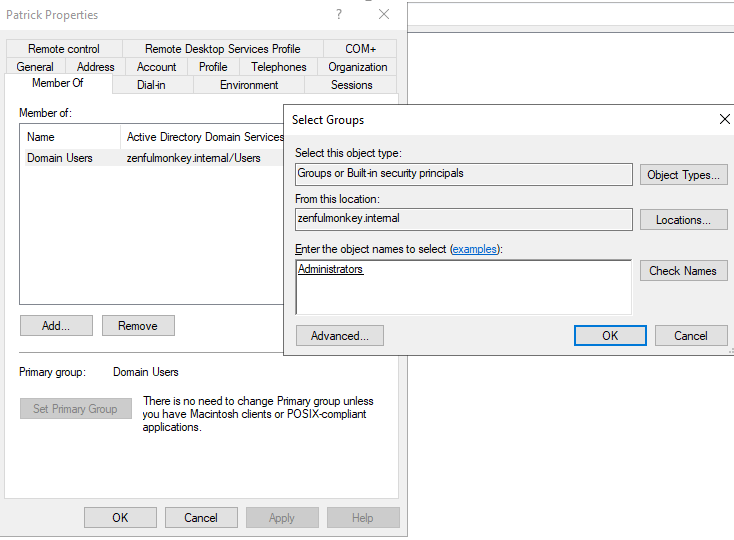
After creating myself a user account, I also add myself to the built-in Administrators group, which comes with many useful permissions – including the permission to add a device to the domain, which I’ll show you shortly.
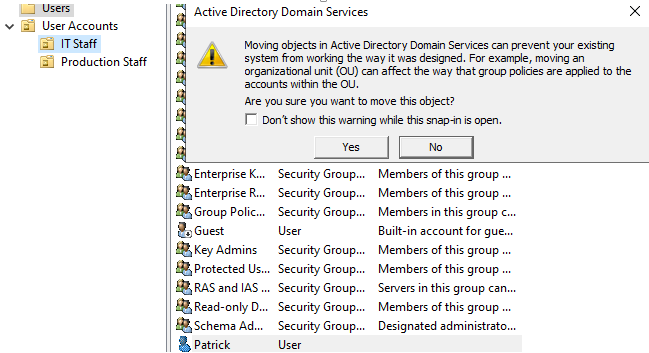
I also created myself some OUs (Organizational Units – what a horrid American spelling!) to keep myself a bit more, well, organised. I probably should’ve done this first, but it’s not the end of the world, I only have a couple of user accounts to look after.
Also note that I’ve created an OU for ‘Production Staff’ – don’t ask me what they produce. In that OU, I’ve created a test account with no special permissions, and it’ll come in handy later for various things.
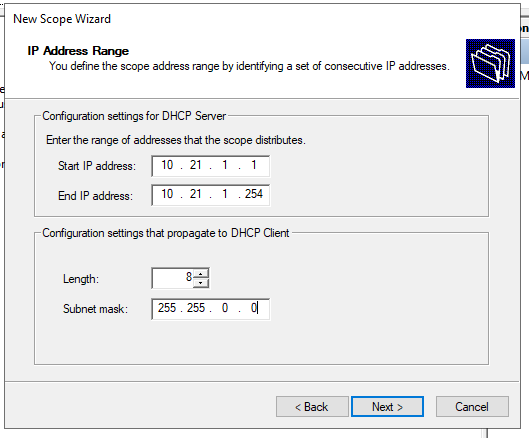
Next, we want to create a DHCP scope for our client to get an IP address and be on the right subnet, then we want this client to join the domain. Above you can see which IP addresses I’ve decided to set aside for this scope. Also, our ‘test client’ consists of another VM within Hyper-V Manager – I won’t run through how to create a virtual machine here though.
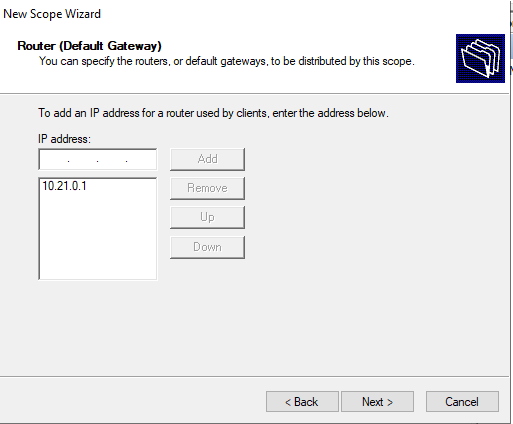
During this wizard, we also put in the default gateway for any devices in this scope. This IP address wants to point to the IP address of our router.
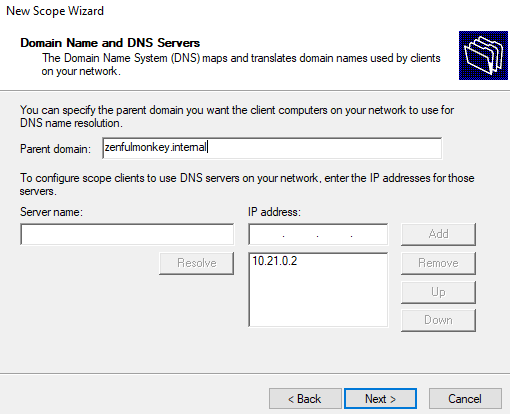
We can also choose the parent domain, and the DNS servers used by our clients. If you’ve already created your domain (like we just did) and installed DNS on your server, then this information will be automatically filled out for you.
Now, to log into our client VM and join the domain.
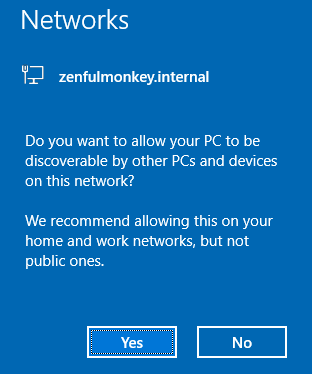
Right away, we get this popup on the right-hand side of our screen, which is a very good sign. Believe it or not, you want to click ‘Yes’ here.
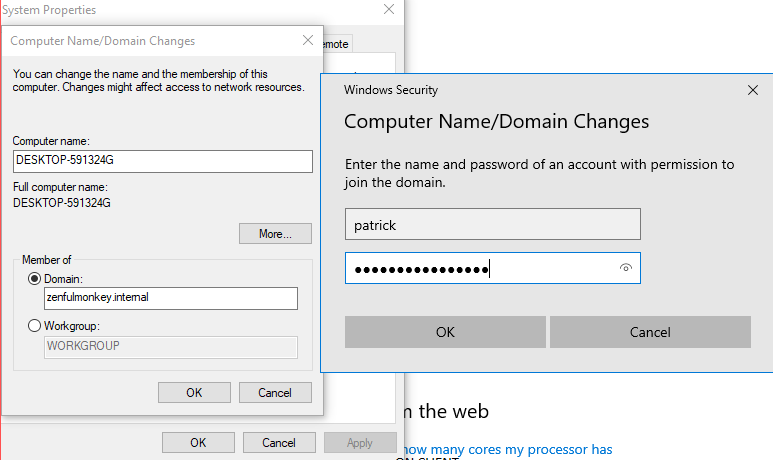
As seen above, I’ve navigated to the dialogue box which allows you to rename your device or join a domain, I’ve typed in ‘zenfulmonkey.internal’ (not ‘zenfulmonkey.com, which I may or may not have tried at first) and then been prompted for my admin credentials. This is also a chance to test my domain administrator account.
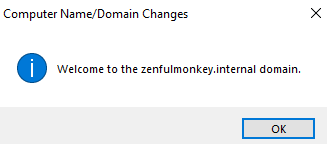
Success!
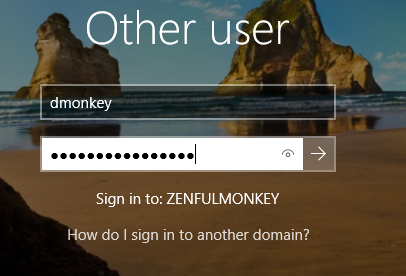
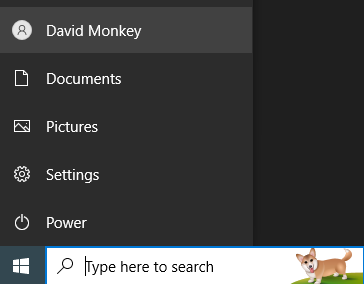
Now, we’re going to log in using our other test account – the one in the Production Staff OU.
And now you can see David Monkey (no relation) is now logged in.
Now, we have the basics sorted and we can begin to do more advanced things. However, this post has been long enough, so I’ll end it here. Thanks for reading.
Leave a Reply