
routing my AD homelab’s traffic
Firstly, I have my homelab which consists of a single machine running Proxmox. But, in order to learn more about Active Directory and the other features of Windows Server, I have another lab in which I create virtual machines on Hyper-V Manager, which I have running on my main PC.
I decided to completely remake this lab from scratch, and with a new requirement: I wanted internet access, whilst still keeping it isolated from the rest of my network. Previously, I’d used a Private vSwitch – this enabled all of the VMs to interact with each other, but not with my host machine or the internet.
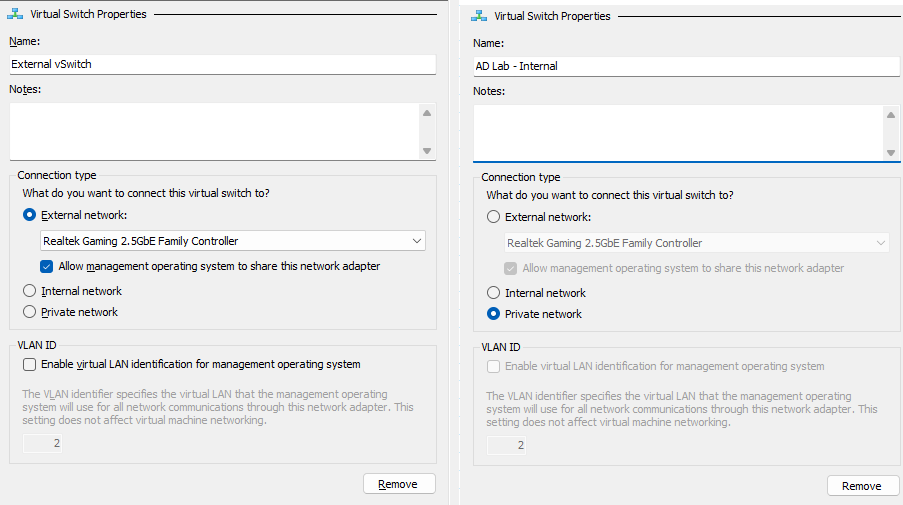
Therefore, I created two vSwitches (see above), and decided to use a router VM to allow traffic between the two. The goal is to have my VMs that belong in my AD environment homelab to be connected to the Internal vSwitch, which is connected to the router, which is connected to the External vSwitch, which then allows traffic to and from the public internet.
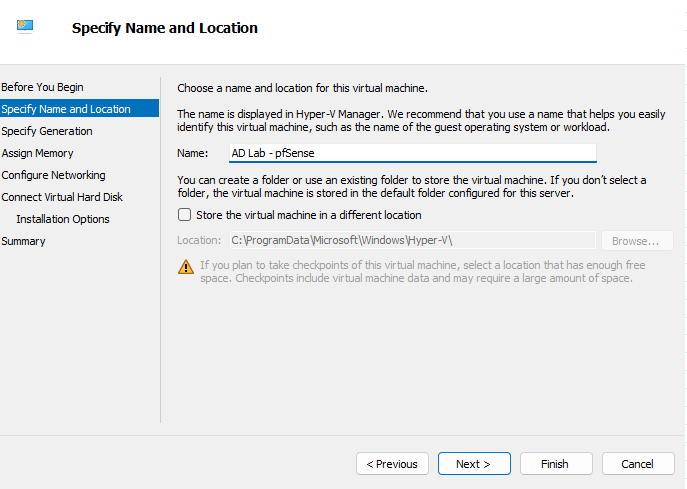
Here, I’ve begun creating a Hyper-V VM which will have my router operating system on it. I’ve decided to use pfSense Community Edition as it is open-source and seems to have good documentation available.
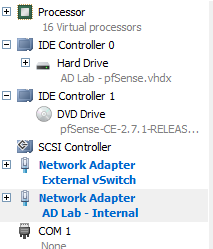
Once the VM is made, I also open up settings and ensure that it has both network adapters assigned to it in the ‘Hardware’ section.
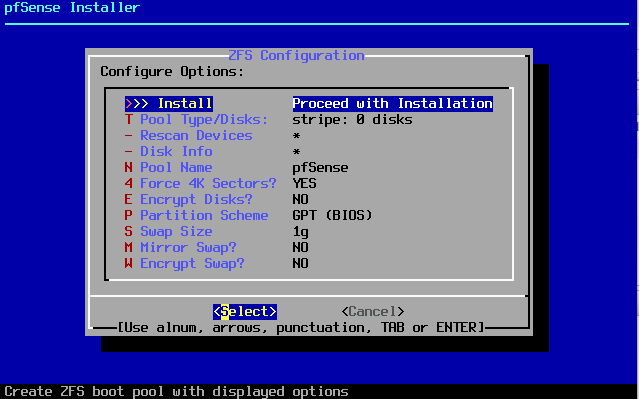
Next, I proceed with the installation of pfSense. It’s a fairly straightforward process and I pretty much just select the default options every time.
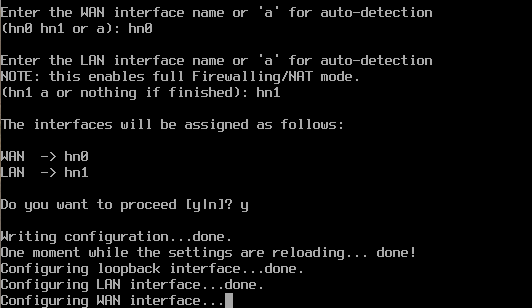
Here, you can see that the router has detected both of the network interfaces, and I’ve picked which one will be my LAN (or homelab) interface, and which one will be my WAN (or home network) interface.
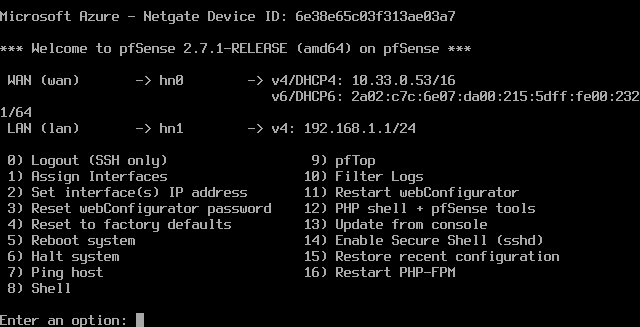
The installation is complete, and you can see there are now two IP addresses associated with this router – one for either interface. The WAN interface has just gotten an IP address via DHCP, which is fine. However, I do not want to use the 192.168.1.x subnet for my AD environment/LAN interface. Let’s change that now.
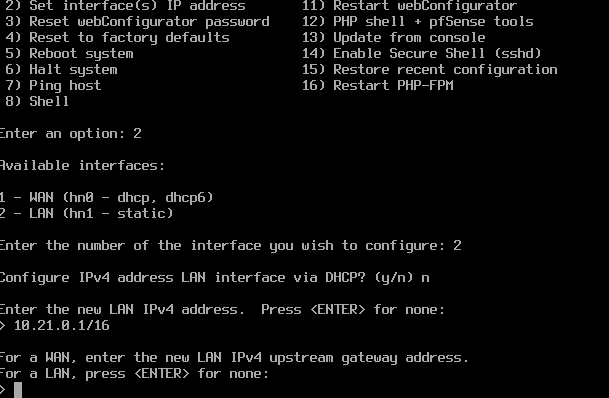
As seen above, this is very easy to do and you are guided through each step. This newly assigned static IP address will be configured to be the default gateway of devices in our homelab. It’s also a possibility to configure this router to handle DHCP, but I’ve chosen against that – I want to configure DHCP within Windows Server.
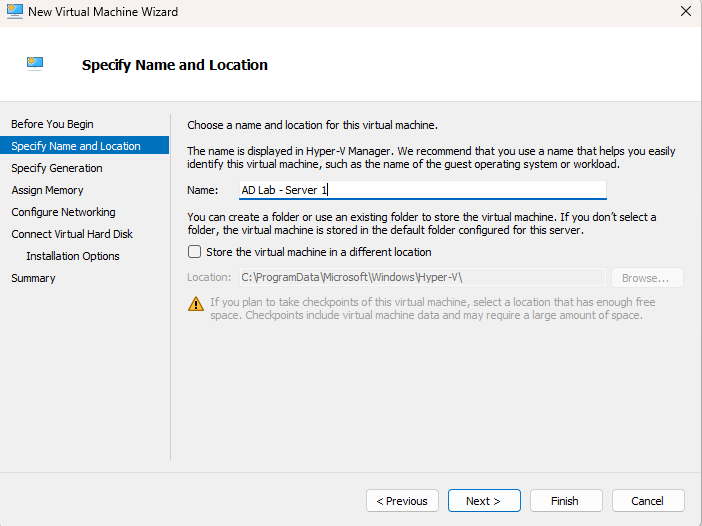
Next, let’s make a new VM which will become the first server within our homelab. We’ll use this server to configure the router via the web client, test our settings, and then to build upon the actual Active Directory environment which we’ll create in later posts.
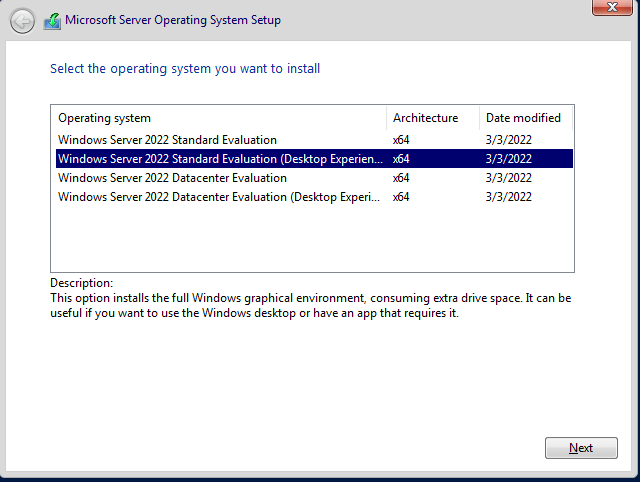
You can grab an evaluation version of Windows Server 2022 free of charge from Microsoft’s official download page. This will only work for 180 days, but it’s still suitable for homelab environments.
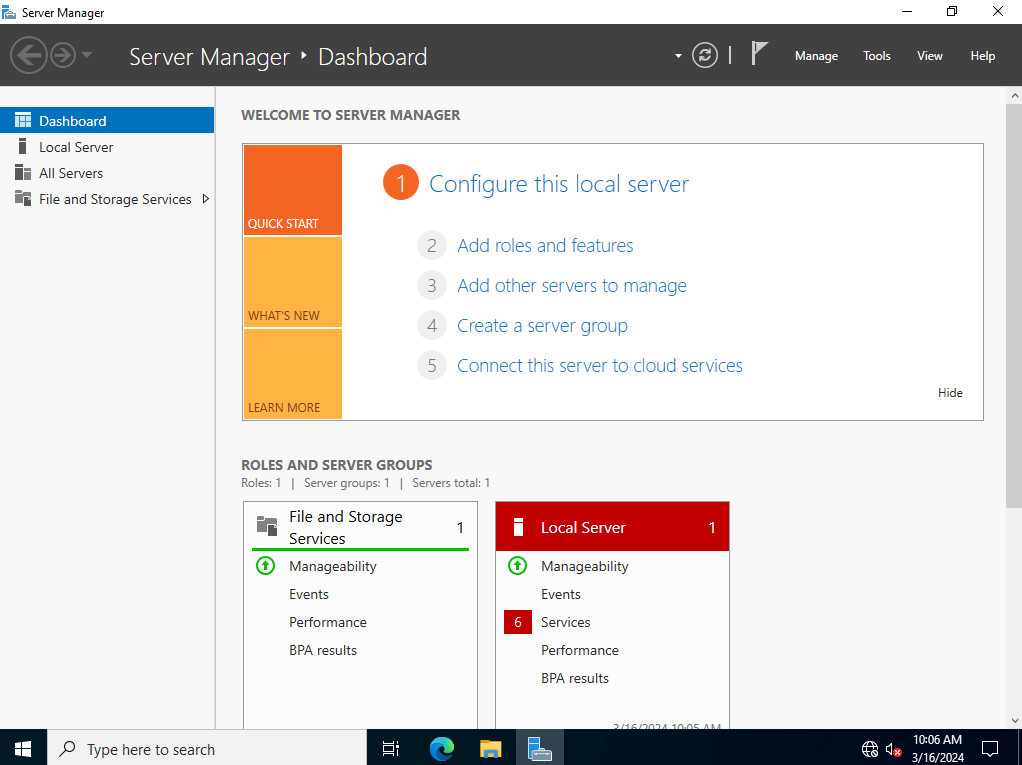
We’ve now chosen an administrator password and we’re onto our operating system. As you can see in the bottom right, there is no internet connectivity. From here, we’ll want to select ‘Configure this local server’ and edit our IP address settings.
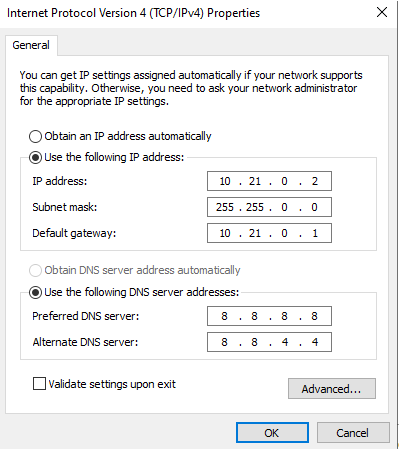
Here are the IP address settings I’ve chosen. Note that I’ve put the server onto the same subnet as my router’s LAN interface, and I’ve also selected that as my default gateway.
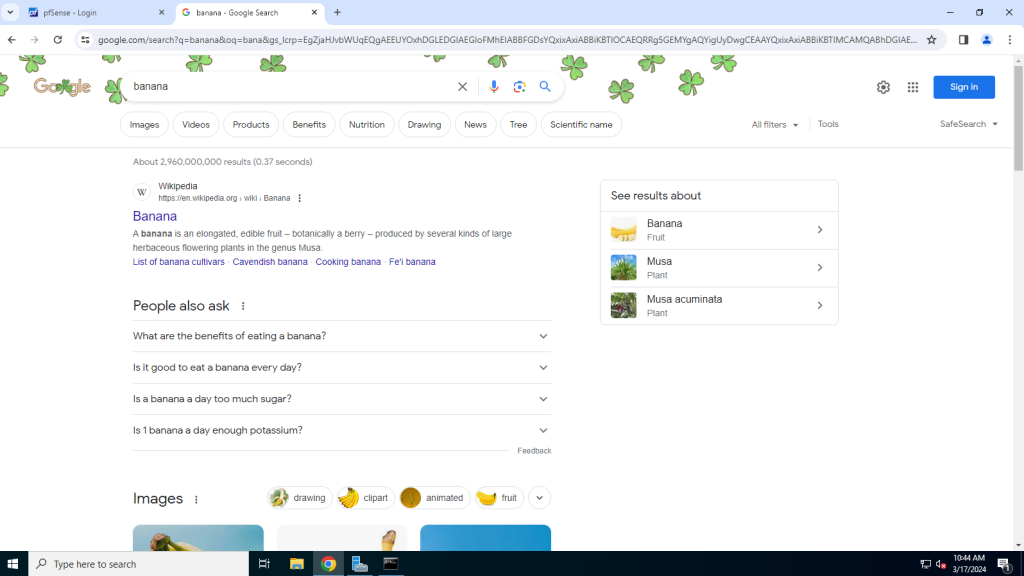
As seen here, this has given me access to the internet: I’ve celebrated by downloading Google Chrome, and you can also see I’ve successfully navigated to the web UI of my pfSense router by going to https://10.21.0.1
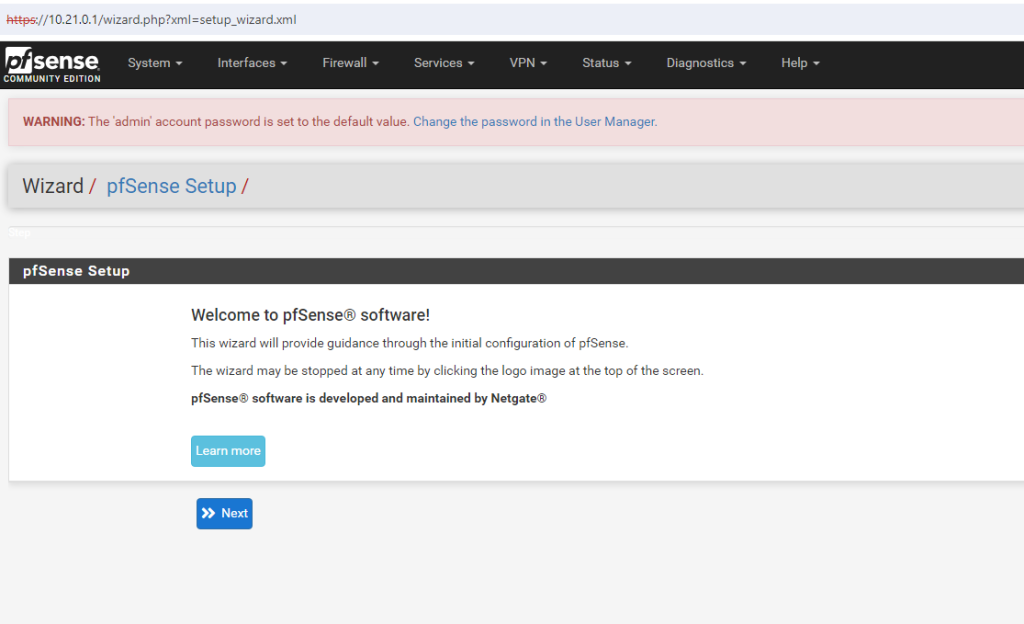
I’ve logged into the pfSense router using the default credentials (admin/pfsense).
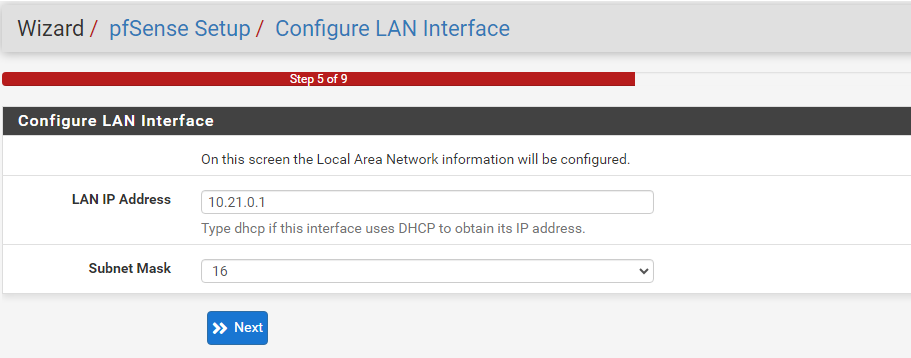
I’ll gloss over the majority of the initial installation, as there’s not much to change from the default settings unless you personally want to. As seen above, our LAN interface’s IP address can be seen.
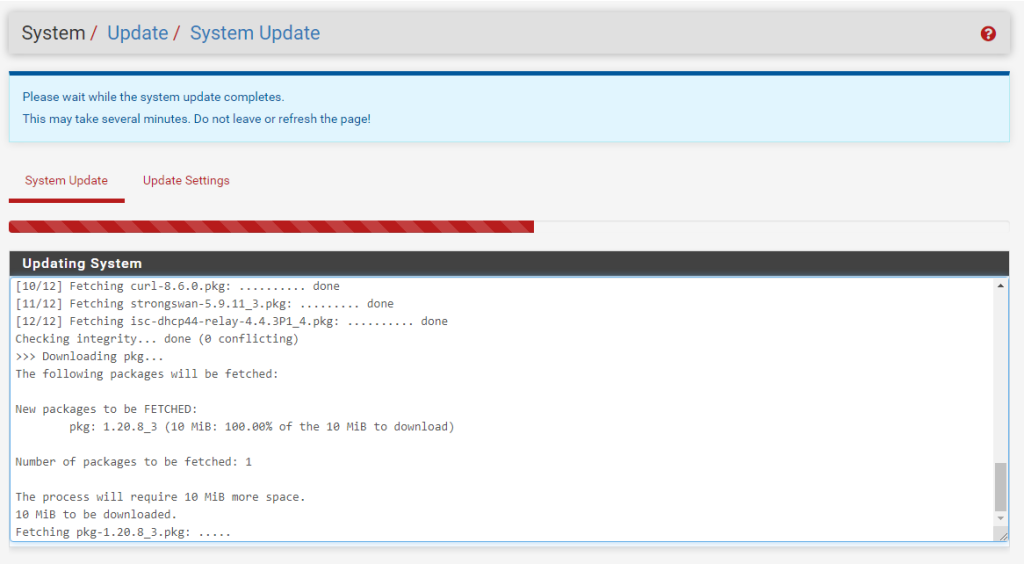
Finally, we’ll check for updates and download the latest release and our pfSense installation is finished!
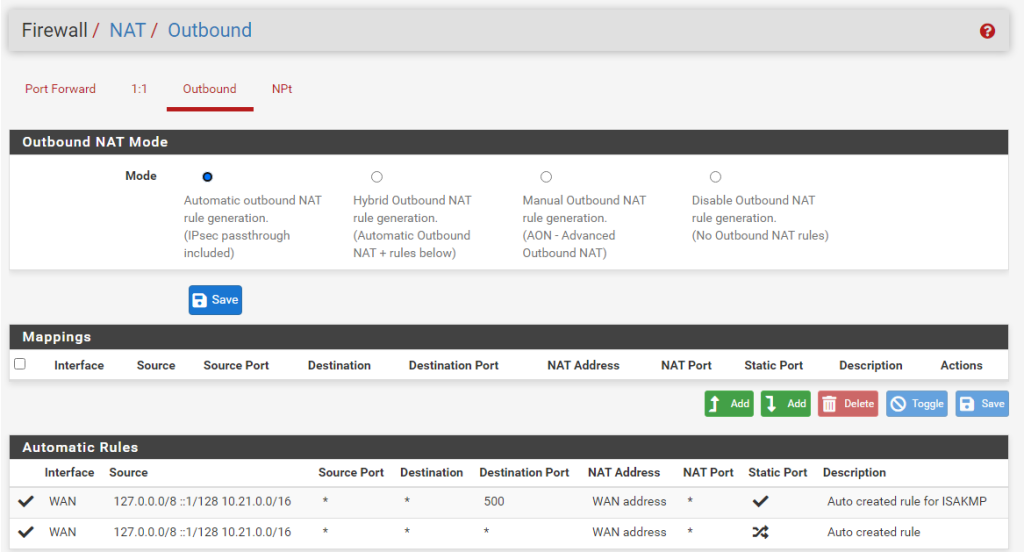
As seen in this picture, pfSense automatically generates NAT rules for us. NAT, or Network Address Translation, is what turns our private IP address (10.21.0.2) into our public IP address (the address of the router provided to you by your ISP) for the purpose of accessing services over the internet.
Luckily, we don’t have to touch these so it’s one less job for us. However, we do have another issue:
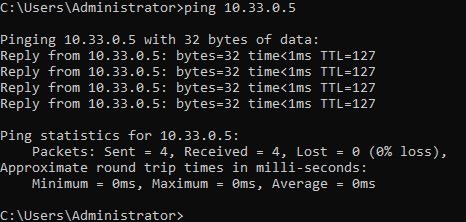
As seen in this screenshot, I can ping devices on my home network (these are all on the side of our router’s WAN interface). Whilst I do want internet access for my homelab’s VMs, I don’t want them to be able to possibly interfere with my home network.
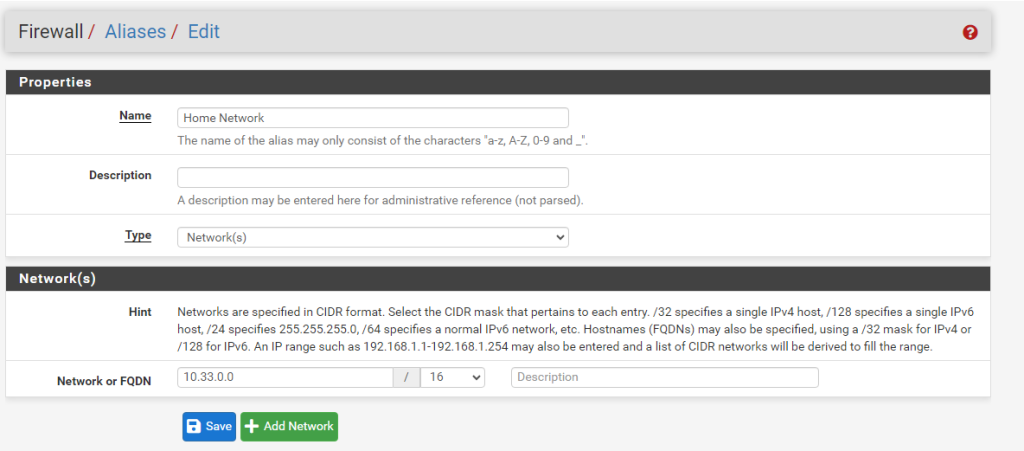
Therefore, we have to setup a rule in our router’s firewall to prevent communications from our homelab to our home network. Firstly, I’m creating an alias which makes configurations easier in the future. If I decide to change my IP address schemes or add extra subnets to my home network, rather than changing all of my firewall rules I can just amend this alias instead – which will in turn be updated in any firewall rules which reference this alias.
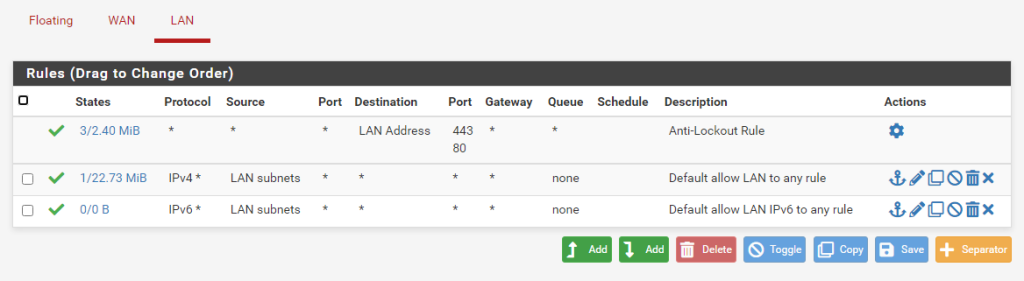
Here, you can see the default rules of my LAN interface. We need to add one more rule:
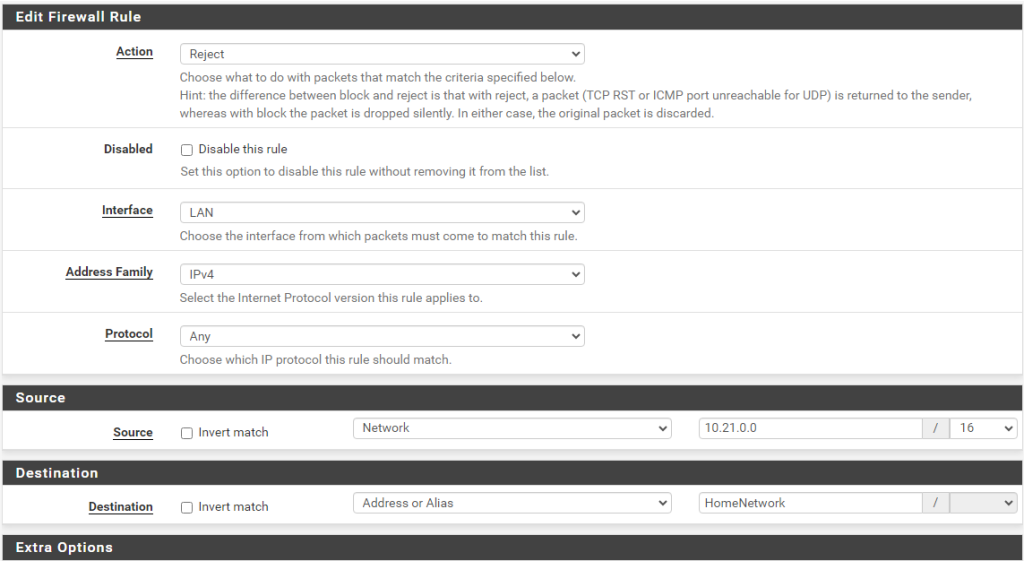
What this means is, the router will reject any packets that are attempting to travel from my homelab’s network (10.21.x.x) to my HomeNetwork alias (see a couple of screenshots up to see which subnet that refers to).
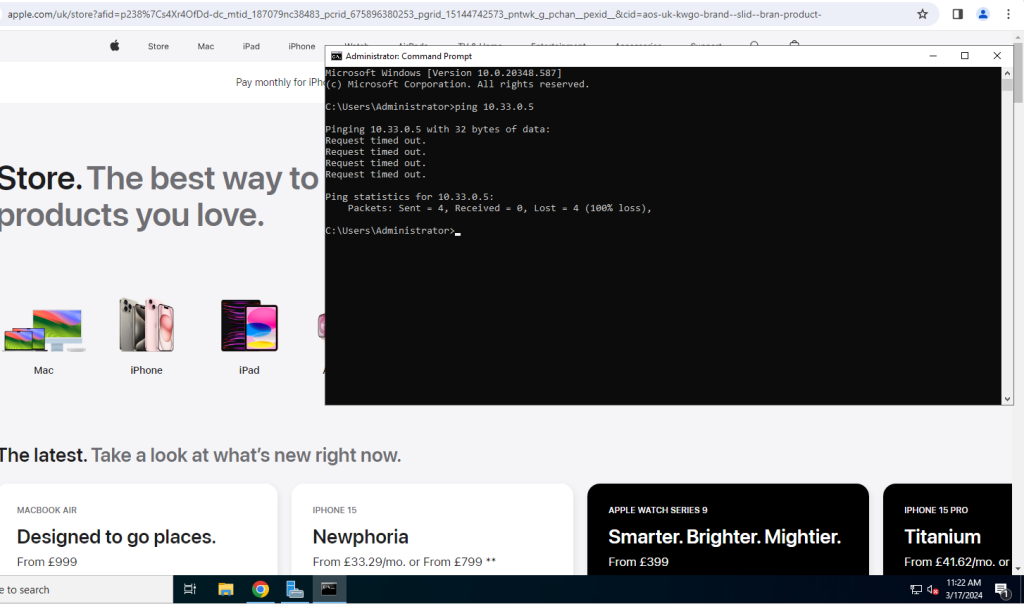
From this screenshot you can see that I can no longer ping anything on my home network, yet I can still browse the internet as required.
Now, the door is open for me to continue creating my Active Directory environment, which you can learn more about in future posts. Thanks for reading.
Leave a Reply